Docker on macOS: install and containerize a web server
A step-by-step walkthrough: install Docker Desktop on a Mac, write a Dockerfile, build an image and run a simple Nginx web server in a container reachable at localhost:8080.
- 3
- 8080:80
- 1
Overview
This walkthrough takes a Mac with nothing installed to a running Nginx web server inside a Docker container. It covers installing Docker Desktop, checking that the engine works, writing a Dockerfile for a simple static site, building the image, running the container and cleaning up afterwards.
It is the smallest useful container project: every step is a command you can run and check, and the same pattern scales to real applications.
Problem
Software that runs on one laptop and fails on another is usually a difference in the environment, not the code: a different runtime version, a missing package or a port already in use. A container packages the application with everything it needs, so the environment travels with it.
For someone new to containers, the first hurdle is the setup itself. Docker Desktop must be installed for the right chip (Apple silicon or Intel), the engine must be running, and the first image has to build and start without guesswork.
Approach
Phase 1: install Docker Desktop
With Homebrew:
brew install --cask dockerWithout Homebrew, download the installer for your chip (Apple silicon or Intel) from the Docker website, open the .dmg and drag Docker into Applications. Then start it:
open -a DockerAccept the license on first launch and wait until the whale icon in the menu bar reports that Docker is running.
Phase 2: verify the engine
docker --version
docker run --rm hello-world
hello-world pulls a tiny image, runs it once and prints a confirmation message. If it prints, the client, the engine and the image registry connection all work.
Phase 3: create the site
mkdir simple-web && cd simple-webindex.html:
<!doctype html>
<html lang="en">
  <head>
    <meta charset="utf-8" />
    <title>Hello from Docker</title>
  </head>
  <body>
    <h1>Hello from a container</h1>
    <p>Served by Nginx, packaged with Docker.</p>
  </body>
</html>
Phase 4: write the Dockerfile
Dockerfile:
FROM nginx:alpine
COPY index.html /usr/share/nginx/html/index.html
EXPOSE 80
FROM nginx:alpinestarts from the small official Nginx image.COPYplaces the page where Nginx serves files from.EXPOSE 80documents the port the server listens on inside the container.
Add a .dockerignore so nothing unneeded is sent to the build:
.git
.DS_Store
*.md
Phase 5: build the image
docker build -t simple-web:1.0 .
docker images simple-web
The -t flag gives the image a name and a version tag.
Phase 6: run the container
docker run -d --name simple-web -p 8080:80 simple-web:1.0-druns it in the background.--namegives it a readable name.-p 8080:80maps port 8080 on the Mac to port 80 in the container.
Check it:
docker ps
curl -i http://localhost:8080
open http://localhost:8080
Phase 7: inspect, stop and clean up
docker logs simple-web
docker exec -it simple-web sh
docker stop simple-web
docker rm simple-web
docker rmi simple-web:1.0
Outcome
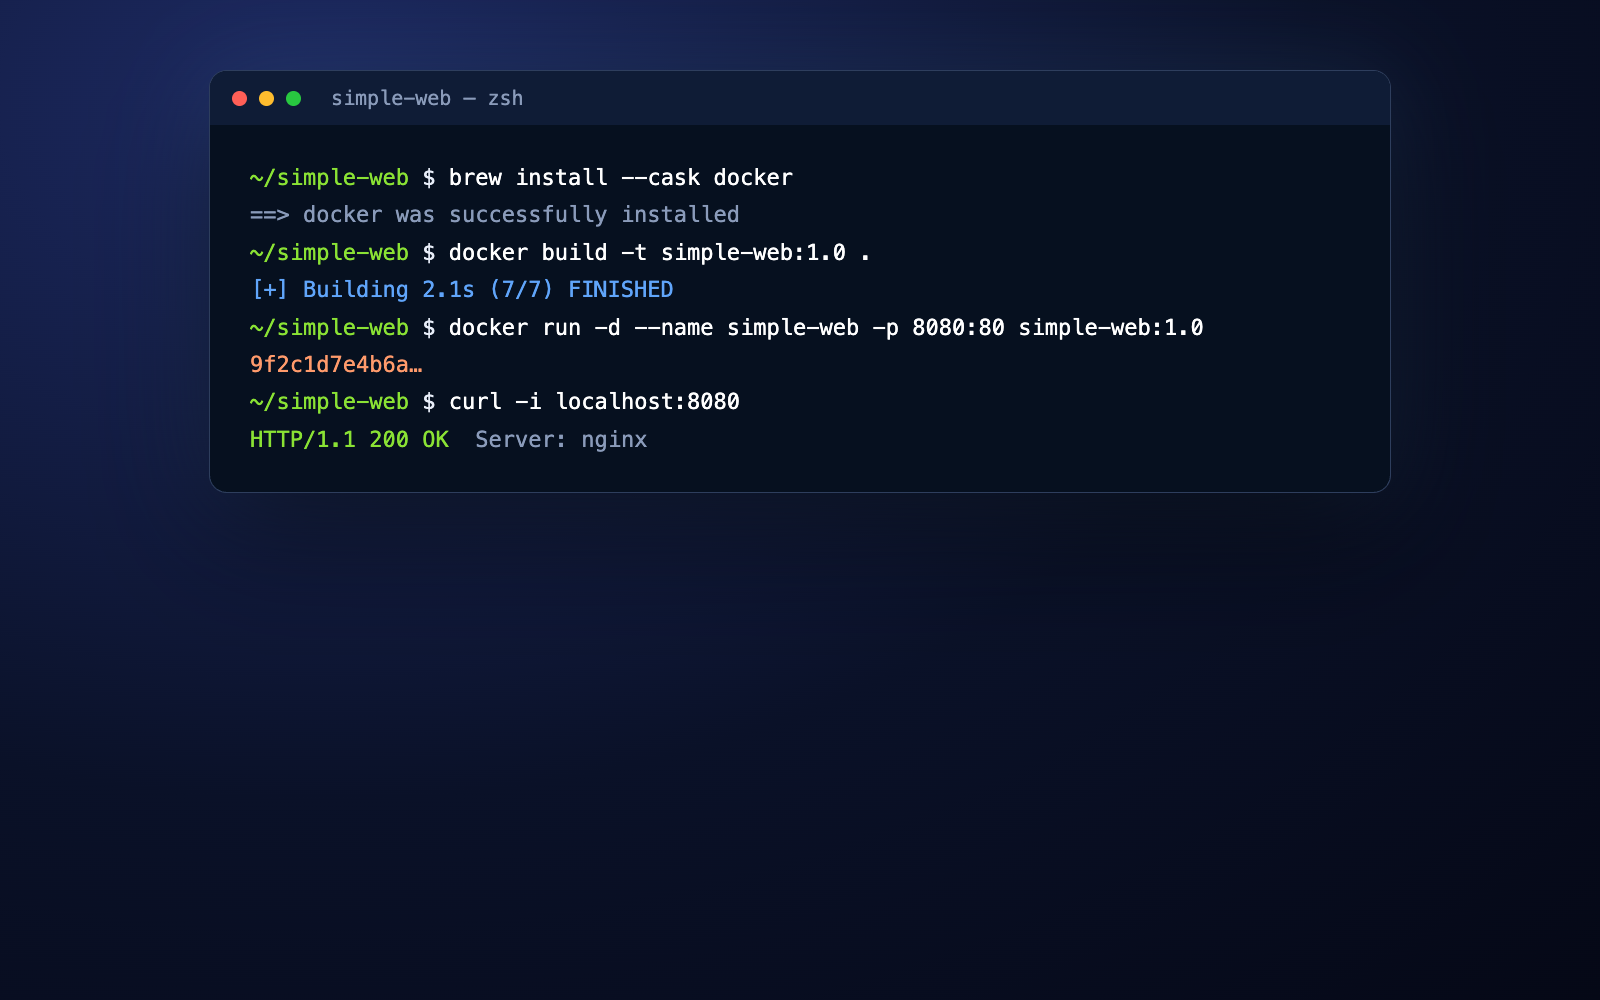
curl -i http://localhost:8080 returns HTTP/1.1 200 OK with the page, and the browser shows the heading “Hello from a container”. The same image runs unchanged on a teammate’s Mac, a Linux server or a cloud host, because the environment is part of the image.
Technical notes
Troubleshooting reference
| Symptom | Likely cause | Fix |
|---|---|---|
Cannot connect to the Docker daemon |
Docker Desktop is not running | open -a Docker and wait for the menu bar icon to settle |
port is already allocated |
Something else uses port 8080 | Pick another host port, for example -p 8081:80, or find the process with lsof -i :8080 |
The container name "/simple-web" is already in use |
An earlier container still exists | docker rm -f simple-web, then run again |
| Page shows the Nginx welcome text, not your page | Image built before the file was saved | Save index.html, rebuild with docker build, recreate the container |
no matching manifest for linux/arm64 on some images |
Image published for Intel only | Add --platform linux/amd64 to the build or run command |
Where to go next
A compose.yaml describes the same container as a file, so docker compose up -d replaces the long docker run line and extra services such as a database can join it. For a real application, replace the static page with a multi-stage build, run as a non-root user and pin the base image to a specific version.
next step
Discuss a similar project
Thirty minutes, free, on Google Meet. Bring the current state and the constraint.